
Support PRODUCT ASSEMBLY
Step 01
Turn small plastic toggle on Holster a 1/4 turn to unlock from clamp.
Step 02
Using a coin or key, fully un-wind the clamp so that it is fully open – before fitting it to the tube.
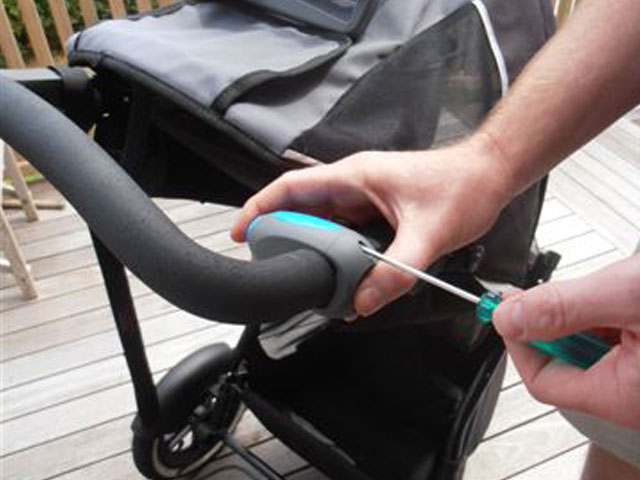
Step 03
Remove 2 screws from clamp with a screwdriver.
Step 04
With clamp in 2 halves, place around tube then re-screw together firmly.
Step 05
Fasten by turning the end of the clamp with a coin or similar until tight.
Step 06
Re-attach Holster as per number 1.
Testimonials See what our clients are saying
Further Support Installation Photos
If your buggy isn’t here and you are having difficulty working out where the LIQUID HOLSTER best fits, please contact us and we will help you in any way we can.
Phil & Ted’s
Model: ‘Base’
Recommended install locations: Anywhere on the upper handle bar. Installed facing in or out.
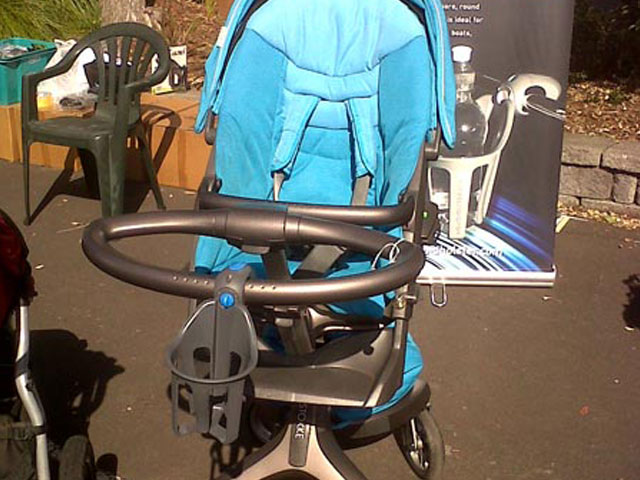
Stokke
Model: ‘Base’
Recommended install locations: Fits on ‘D’ portion of handle bar.
Notes: Multiple install locations possible – facing in or out.
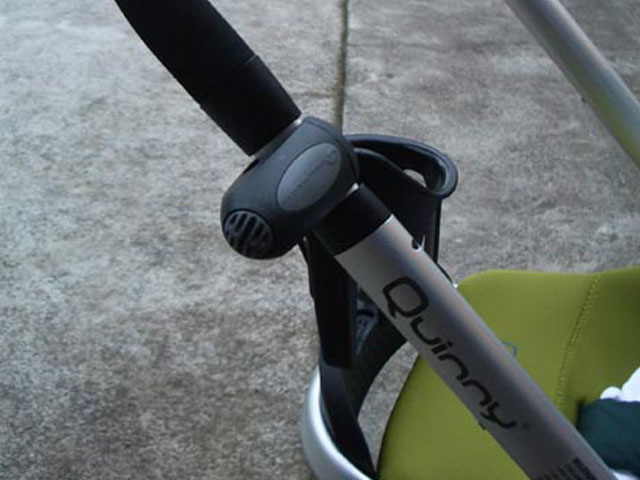
Quinny Buzz
Model: ‘Base’
Recommended install locations: On the portion of the extendable metal handle below the handle grip zone – facing in or out.
Notes: Installs in this location very well.
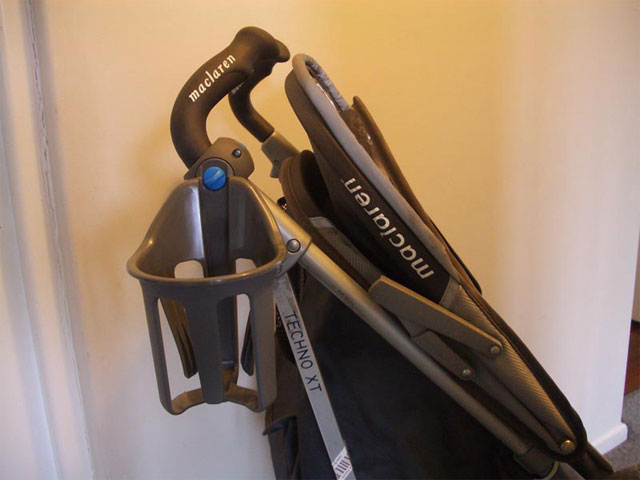
Mclaren
Model: ‘Original or base’
Recommended install locations: On the extendable portion of the handle bar – facing in or out.
Edinburgh
Model: ‘Original or Base’
Recommended install locations: Anywhere on the handle.
Notes: Installs in this location very well.
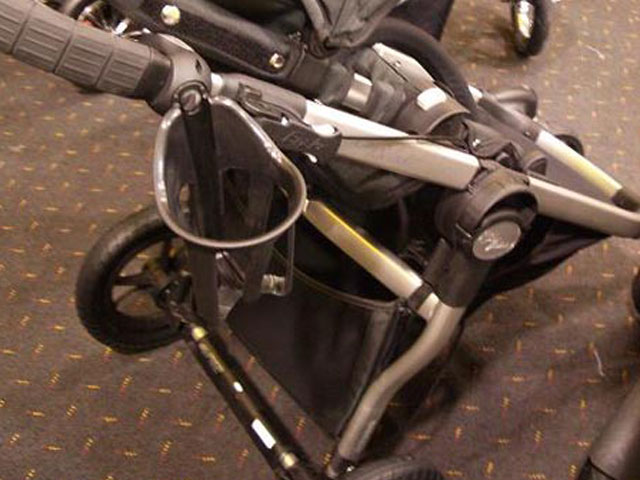
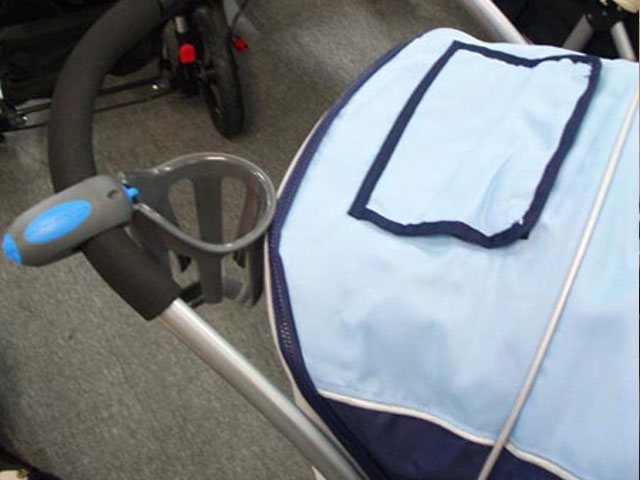
Baby Jogger
Model: ‘Base’
Recommended install locations: On the metal part of extendable handle bar – facing in or out.
Notes: Due to the telescoping handle extend the handle first then install at the top of the bar.
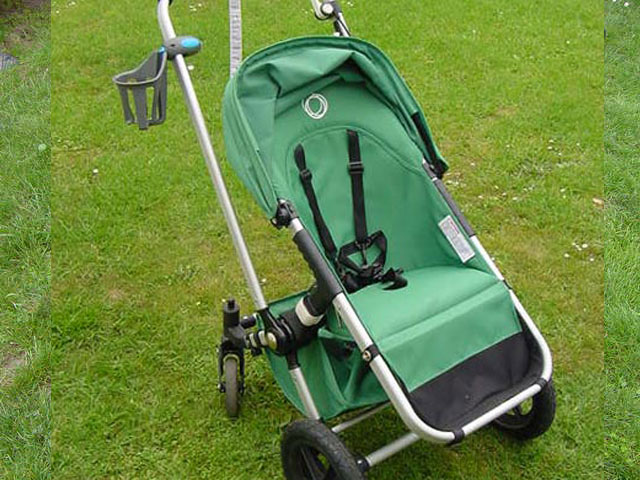
Bugaboo
Model: ‘Base’
Recommended install locations: Anywhere on the upper handle bar. Installed facing in or out.
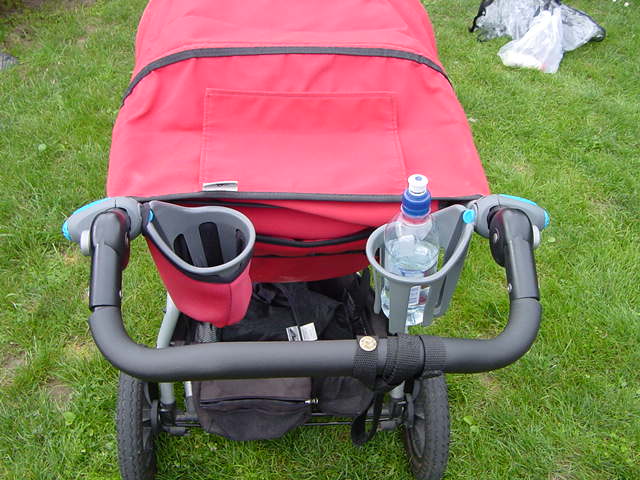
Mountain Buggy
Model: ‘Original or base’
Recommended install locations: Any where on the handle bar that suits you.
FAQS
Buggy/Stroller
Does it need to be removed to fold down the Stroller / Buggy?
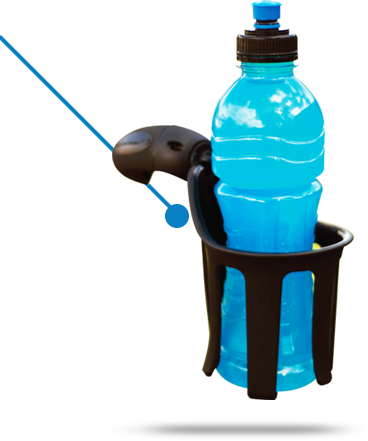
Most strollers can be folded without removing the drink holder part of the LIQUID HOLSTER®, however if it does need to be detached, simply give the blue toggle a quarter turn and it will come off. Note: the clamp part of the LIQUID HOLSTER® stays on your stroller.
Does the Liquid Holster fit a Bugaboo?
Yes. Please select the ‘Base’ LIQUID HOLSTER® model.
Will if fit my Stoller / Buggy?
The LIQUID HOLSTER® has a unique adjustable clamp that fits most strollers/buggy’s with a square, round, oval or rectangular tube with a dimension of between 10-35mm (inches) radius.
Vehicle
Can I use the original Liquid Holster® in my Vehicle?
No, the original LIQUID HOLSTER® has not been designed to fit in vehicles. You will need the specific LIQUID HOLSTER® Vehicle drink holder, which uses the same holster but the attachment is different and you can’t buy these separately.
My car is fitted with drinks holders – why do I need a LIQUID HOLSTER®?
Most car drink holders are either located in the centre console where you end up putting cellphones, lipsticks, or loose change and are usually too small to take a larger drink bottle. The LIQUID HOLSTER® lets you still put your cellphone somewhere and also lets you get up to an 800ml drink in your car without the worry of it toppling over if you drive around a corner.
Will it fit my car?
The LIQUID HOLSTER® car attachment has unique 3 stage clip fitting that allows for the thickness of your car window sill. We have used/tested the LIQUID HOLSTER® on many cars and different manufacturers and it fits all that we have tried.
Will it damage my vehicle’s interior?
No, the LIQUID HOLSTER® uses no screws, glue or adhesive to install in your car and will not damage any of your expensive vehicle interior.
Can my children who are sitting in Booster seats or car seats us the LIQUID HOLSTER®?
Because the LIQUID HOLSTER® is installed at the height of the car window sill – it is within easy reach of your children for their sipper bottles. Word of caution: Parents don’t trust your children with open cup drinks unless you like sticky seats!
Where can I install it in my car?
On any car door that has an operable window – for front or back seat passengers.
CAUTION: We recommend that you check you have full access and ease of use to all driving controls and door handles etc prior to starting your car if you install it on the driver’s side.
Can I remove the basket only and leave the clamp in the window?
Yes, if necessary, using LIQUID HOLSTER®’s patented technology, the LIQUID HOLSTER® can be easily removed from the clamp in just a few seconds, leaving the clamp installed down the window sill.
General Design/Installation/Fitting
Why is Liquid Holster® any different to other drink holders on the market?
The LIQUID HOLSTER® will fit a wider range of drinks, hold them more securely, self-levels and the use of the LIQUID HOLSTER® isn’t restricted to a single buggy/trundler/bike etc brand.
Does the Liquid Holster® come in any other colours?
The current colour options for strollers are grey with blue details, white with grey detail, or black with grey details. Please note: due to bar sizing variations on strollers, your prefered colour may not be available. Please check this during the order process on this site. The Vehicle drink holder only comes in black.
What can the Liquid Holster® be fitted to?
The LIQUID HOLSTER® has been installed on golf trundlers, electric golf carts, baby strollers, buggies, bicycle, children’s bikes, motor boats, yachts, accessability equipment, quad bikes, tractors, commercial lawnmowers, BBQ’s, truck cabs, shopping carts – almost anything! Also, please see the installation photos which may offer further guidance.
Can I remove it once I have installed it?
Yes, very easily, removal is just the reverse of installation, so you can move it from front to rear, side to side or car to car with no tools in just seconds!
What is the low profile fitting you mention?
This method of fixing the LIQUID HOLSTER® allows the LIQUID HOLSTER® to be fitted to a boat bulkhead or truck cab using suitable screws that screw the front half of the clamp to a flat surface. By unscrewing the clamp into two sections and only using the front half the LIQUID HOLSTER® can be permanently installed on flat surfaces, whilst the holster can still be easily removed with a quarter twist.
How can I check to see if it will fit before I buy one?
The LIQUID HOLSTER® fits nearly all baby strollers/buggies, bikes, accessability equipment, and boats, but the fastest way to check to see if the clamp will fit is by getting a piece of paper and wrapping it around the tube where you would fit the LIQUID HOLSTER®, mark with a pen where the paper over laps and measure the length of paper. If the paper measures less than 35mm (inches) then generally the LIQUID HOLSTER® will fit your item.
How long does it take to fit?
There is next to no skill in the installation required – generally it will take between 3-5 minutes.
Will it take hot drinks?
Yes, the LIQUID HOLSTER® is designed to not distort or soften with hot drinks, however for your safety, we do not recommend the use of sipper cup lids, especially whilst around children. We also do not promote the use of hot drinks in cars whilst driving.
Troubleshooting
Troubleshooting
If you have purchased a Liquid Holster from within NZ or Australia and have experienced problems with the basket portion detaching from the clamp, please contact us.
I have lost the instructions. How do I install the Liquid Holster®?
Click here to go to our installation page.
The Liquid Holster® slips around the bar when using it? Why’s that?
It is very important for the LIQUID HOLSTER® to work as designed, that the clamp is tightened occasionally as tight as possible – using a coin or a key in the end of the clamp (slotted bit). Retightening the clamp will keep the LIQUID HOLSTER® sitting vertical. If the tube you are installing the LIQUID HOLSTER® on is slightly too small for the clamp, you can loosen the clamp off and wrap a piece or rubber around the tube to bring it up to our minimum measurements and then retighten. Due to the universal fitting design of the clamp, this will only be necessary if your tube is too small or has very little grip i.e. greasy.
I can’t get it to fit my Buggy
It is important to remember that when you unpack the LIQUID HOLSTER® to unwind the clamp to its maximum to ensue that when you screw the two pieces together again that they will join comfortably – then wind the clamp back in very tightly!
Also note that on some installations you may need to remove the clear plastic inserts – if you’re not sure, please contact us and let us know what sort of installation you’re doing so we can help. Also, please see the installation photos which may offer further guidance.